Set up the Microsoft Authenticator app as your verification method
You can follow these steps to add your two-factor verification and password reset methods. After you've set this up the first time, you can return to the Security info page to add, update, or delete your security information.
If you're prompted to set this up immediately after you sign in to your work or school account, see the detailed steps in the Set up your security info from the sign-in page prompt article.
If what you're seeing on your screen doesn't match what's being covered in this article, it means that your administrator hasn't turned on this experience yet. Until this experience is turned on, you must follow the instructions and information in the Set up my account for two-step verification section.
Set up the Microsoft Authenticator app from the Security info page
Depending on your organization’s settings, you might be able to use an authentication app as one of your security info methods. You aren't required to use the Microsoft Authenticator app, and you can choose a different app during the set up process. However, this article uses the Microsoft Authenticator app.
To set up the Microsoft Authenticator app
Sign in to your work or school account and then go to your My Account portal (https://myaccount.microsoft.com).
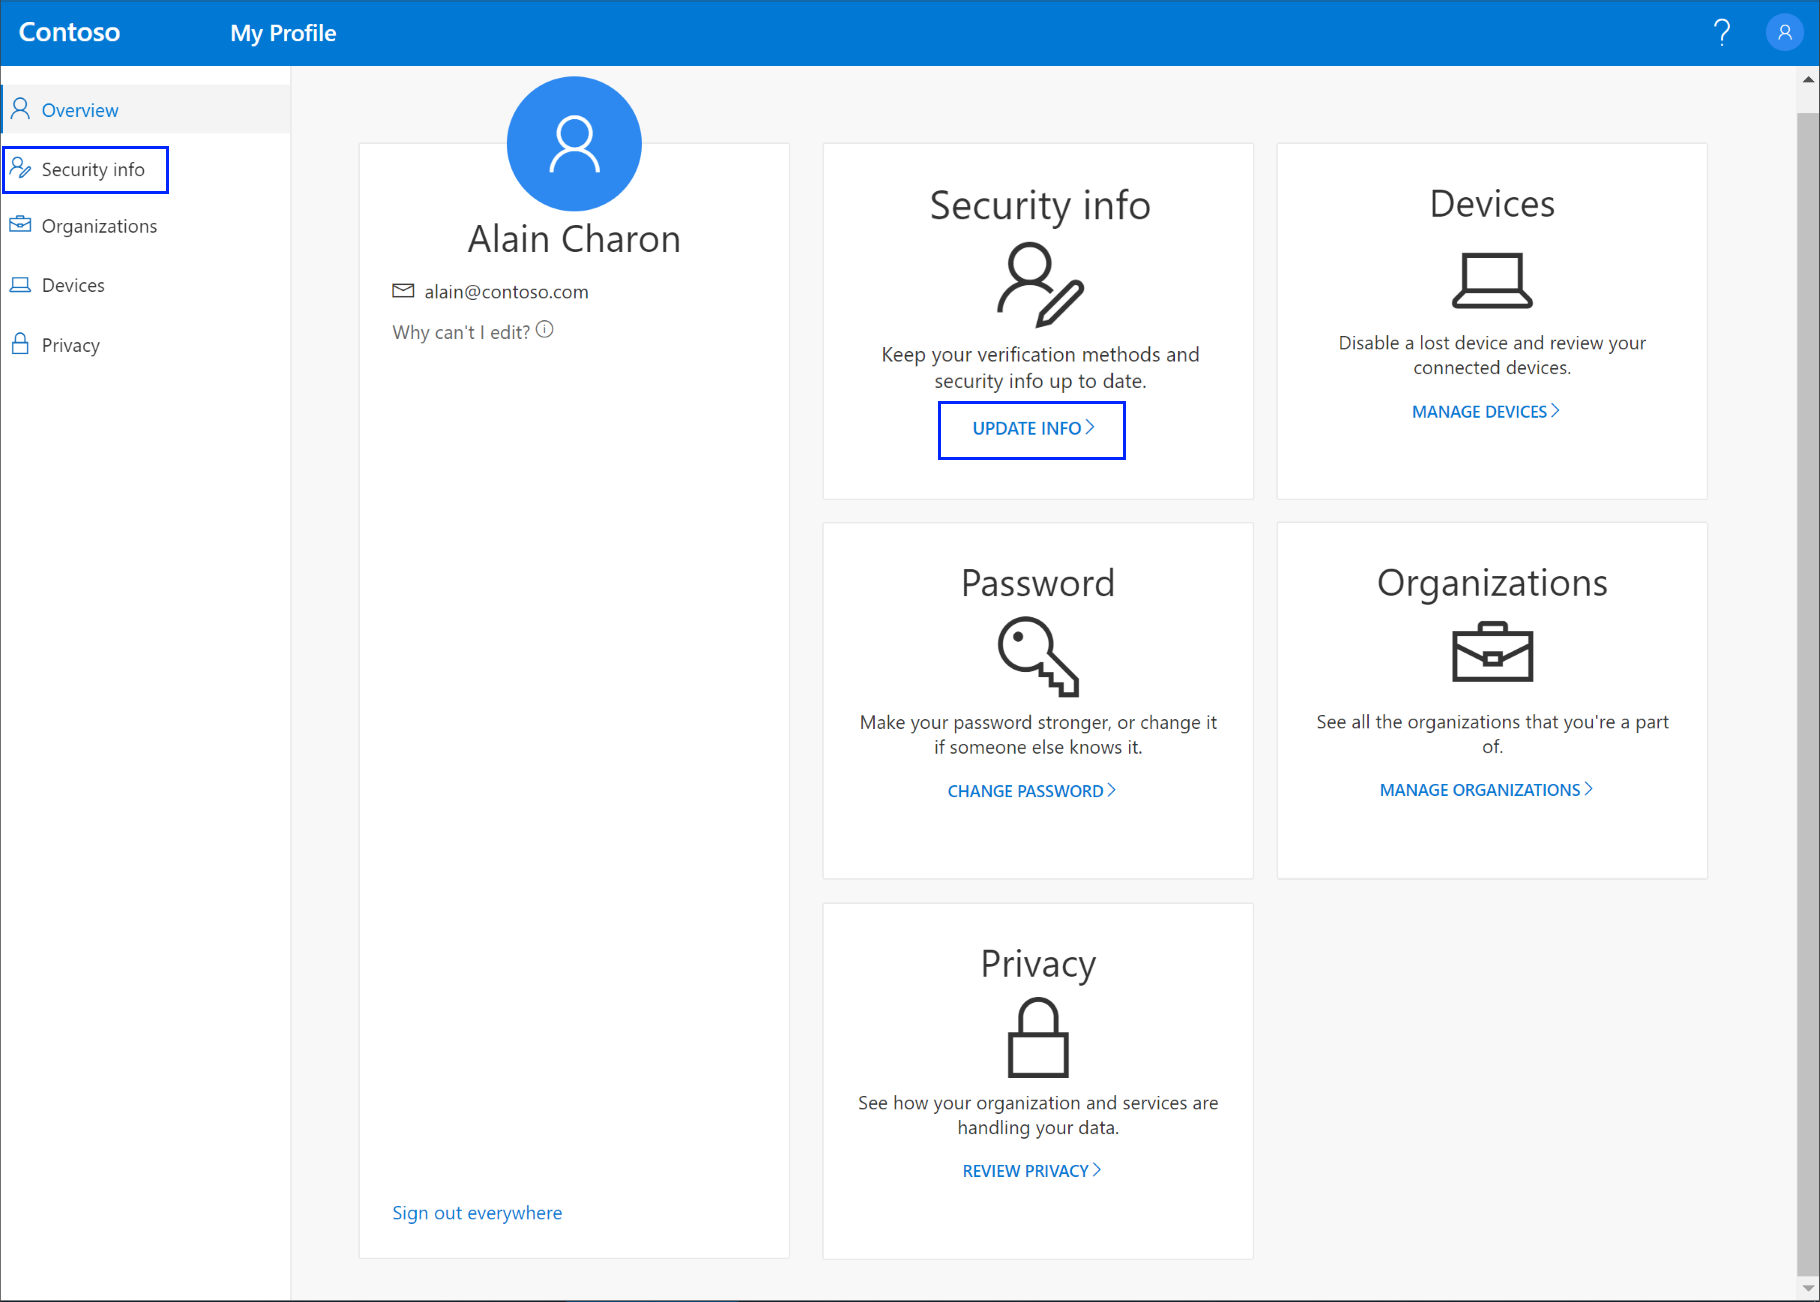
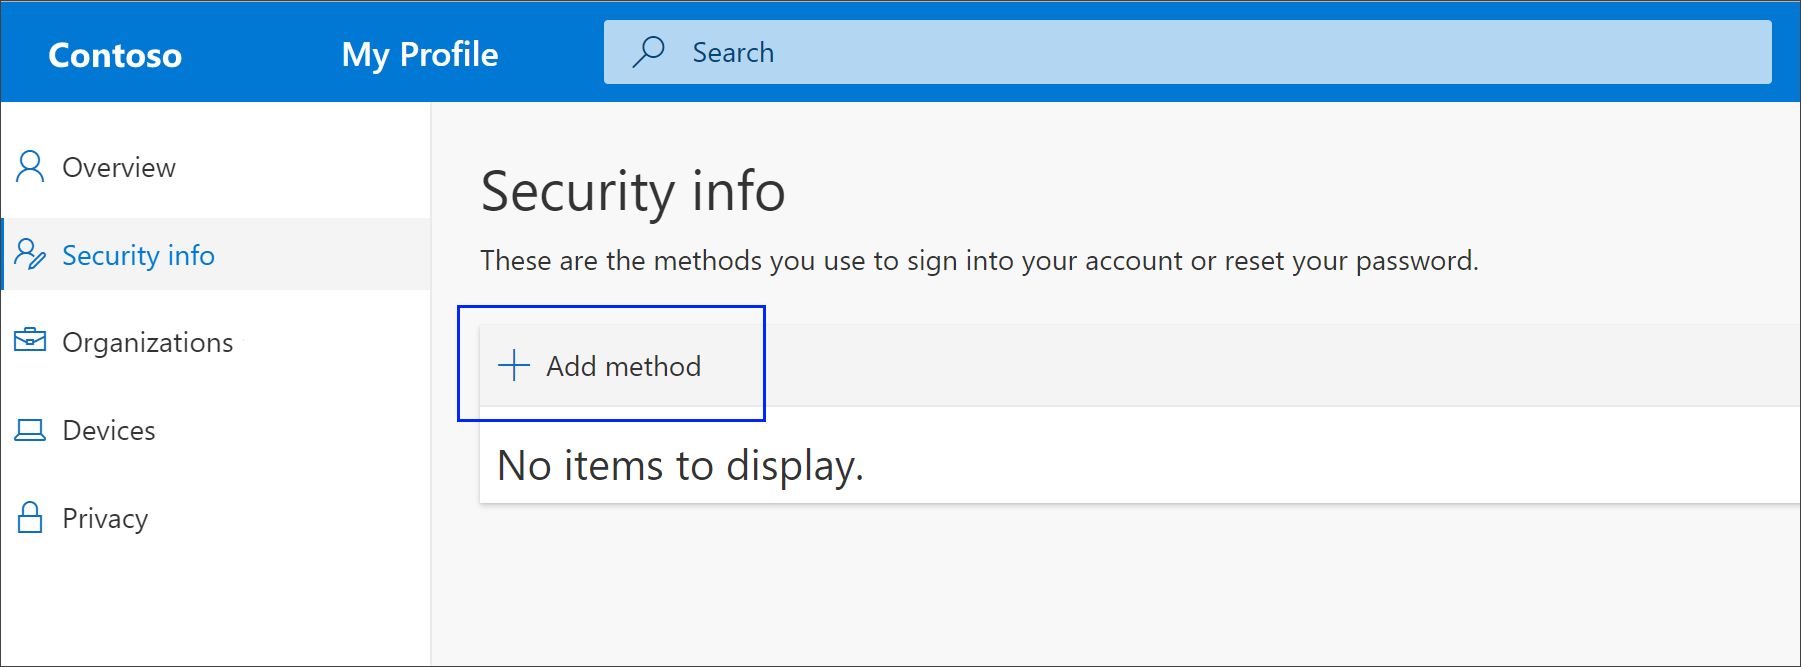
Select Security info in the left menu or by using the link in the Security info pane. If you have already registered, you'll be prompted for two-factor verification. Then, select Add method in the Security info pane.
On the Add a method page, select Authenticator app from the list, and then select Add.
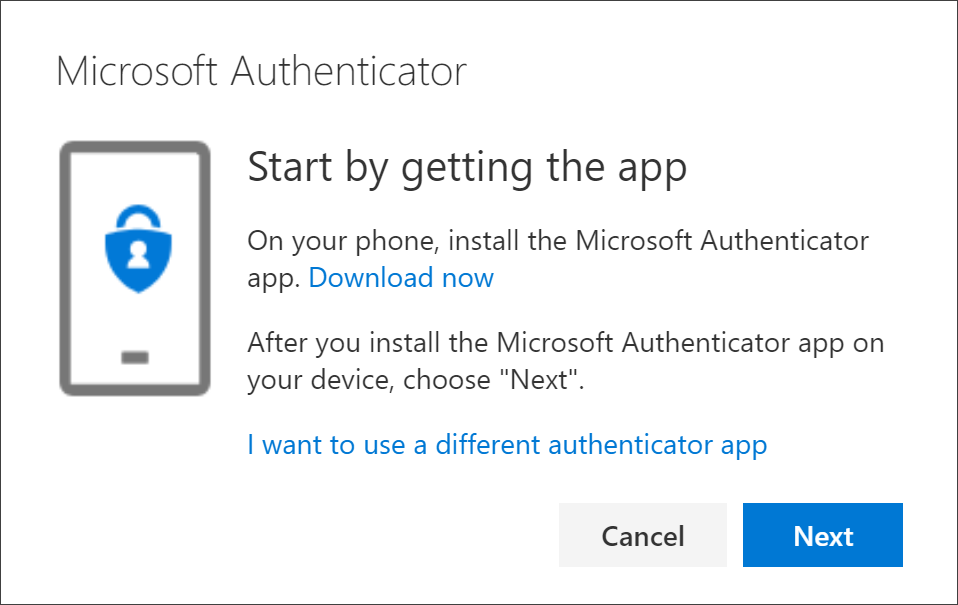
On the Start by getting the app page, select Download now to download and install the Microsoft Authenticator app on your mobile device, and then select Next. For more information about how to download and install the app, see Download and install the Microsoft Authenticator app.
If you want to use an authenticator app other than the Microsoft Authenticator app, select I want to use a different authenticator app.
If your organization lets you choose a different method besides the authenticator app, you can select I want to set up a different method.
Remain on the Set up your account page while you set up the Microsoft Authenticator app on your mobile device.
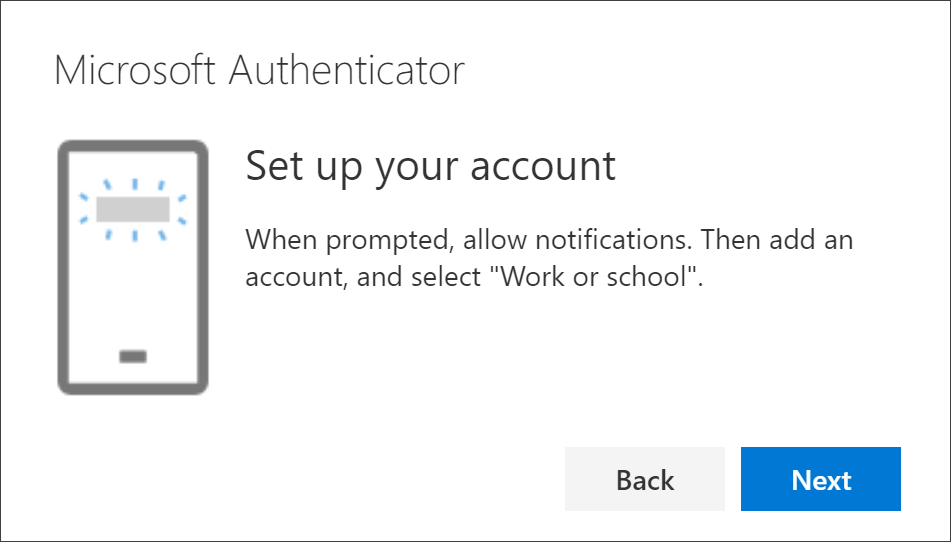
Open the Microsoft Authenticator app, select to allow notifications (if prompted), select Add account from the Customize and control icon on the upper-right, and then select Work or school account.
Note: The first time you set up the Microsoft Authenticator app, you might receive a prompt asking whether to allow the app to access your camera (iOS) or to allow the app to take pictures and record video (Android). You must select Allow so the authenticator app can access your camera to take a picture of the QR code in the next step. If you don't allow the camera, you can still set up the authenticator app, but you'll need to add the code information manually. For information about how to add the code manually, see see Manually add an account to the app.
Return to the Set up your account page on your computer, and then select Next. The Scan the QR code page appears.
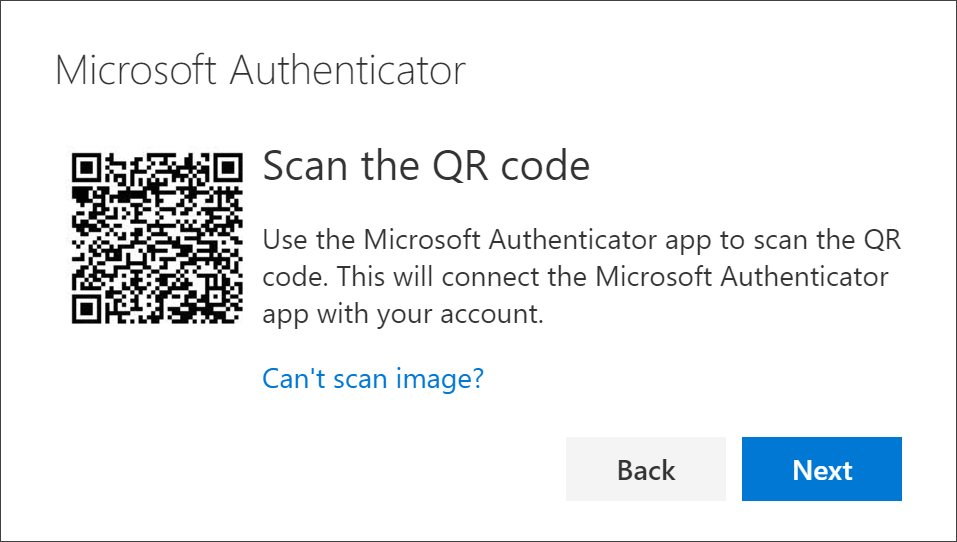
Scan the provided code with the Microsoft Authenticator app QR code reader, which appeared on your mobile device after you created your work or school account in Step 6.
The authenticator app should successfully add your work or school account without requiring any additional information from you. However, if the QR code reader can't read the code, you can select Can't scan the QR code and manually enter the code and URL into the Microsoft Authenticator app. For more information about manually adding a code, see Manually add an account to the app.
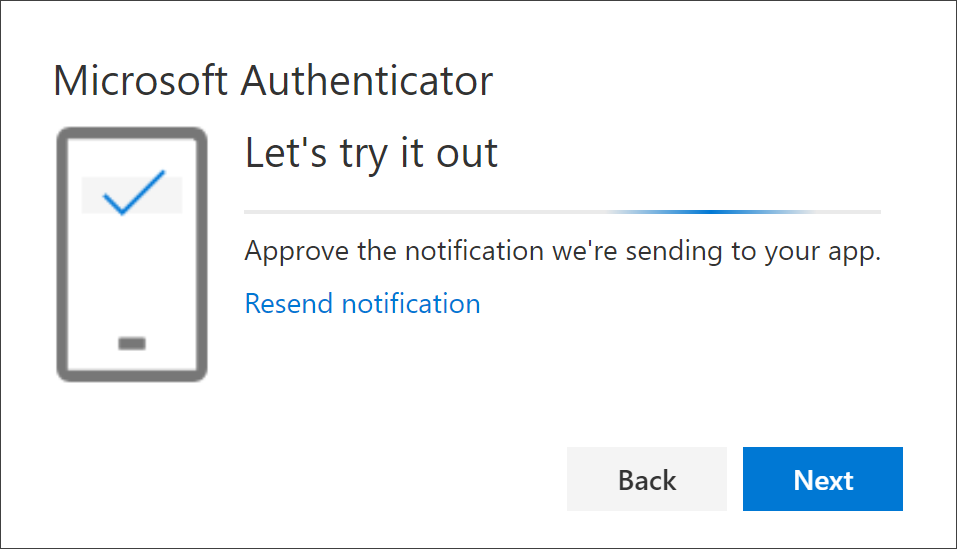
Select Next on the Scan the QR code page on your computer. A notification is sent to the Microsoft Authenticator app on your mobile device, to test your account.
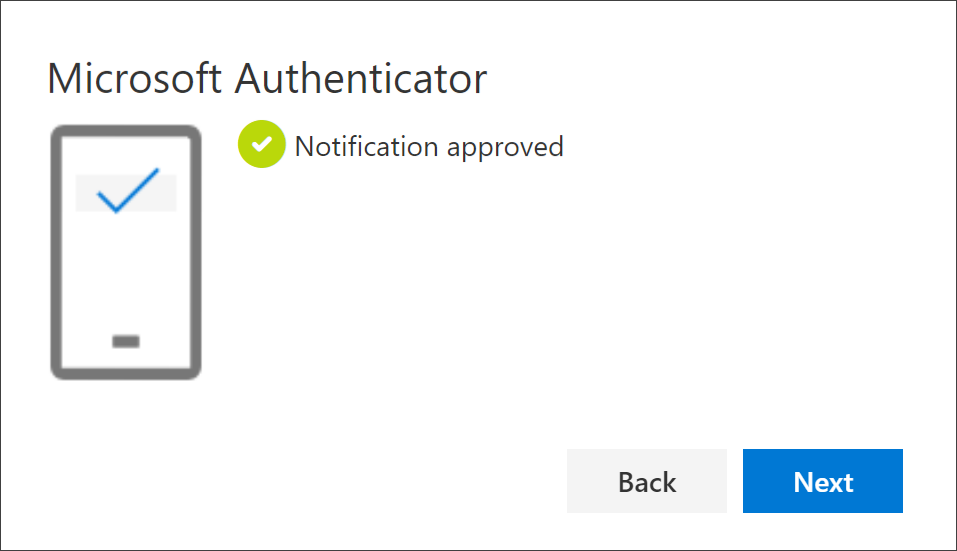
Approve the notification in the Microsoft Authenticator app, and then select Next. Your security info is updated to use the Microsoft Authenticator app by default to verify your identity when using two-step verification or password reset.
Related Articles
Adding other Office 365 accounts to Outlook Mobile App
Outlook Mobile app With the Outlook mobile app open, tap on the 3 horizontal lines in the top-left of the screen Tap the Add new account button found on the left-most side of the screen underneath your existing accounts Tap Add an account along the ...Add a Second Email Account to Your Outlook Desktop App
Outlook Desktop app Open Outlook if you don’t already have it running, then click File > Info and click on the +Add Account button (this should be found under the Account Information header and just underneath the drop down that displays one of your ...Repair Office 365
Open the Control Panel and go to Programs Then click Programs and Features Select Office 365 or Microsoft 365 and click on Change The UAC will prompt you to allow the app to make changes on your computer → hit Yes A new window will pop-up on the ...Create a distribution group (list)
Used when you want to send email to group of people without having to type each individual recipient's name, distribution groups (distribution lists) are organized by a particular discussion subject (such as "Marketing") or by users who share common ...Can you List all Known SIP Responses?
SIP responses are the codes used by Session Initiation Protocol for communication. We have put together a list of all the SIP responses known. 1xx = Informational SIP Responses 100 Trying – Extended search is being perform so a forking proxy must ...